

Brief:
Part 1
Selecting the proper White Balance: (1 hour)
Take your camera outside during daylight and photograph the same scene using different white-balance settings. Move indoors and repeat the exercise with shooting in a tungsten-lighting environment. Finally, find a fluorescent light source and repeat this one more time. Pay close attention to how each setting affects your images’ overall colour cast in different lighting environments and write down your findings.
Experimenting with Focus Modes: (1 hour)
Change your camera settings so that you are focusing using the Single-Point focus mode. Try using all of the different focus points to see how they work in focusing your scene. Then set your focus mode to AF-S and practice focusing on a stationary subject and then recomposing before actually taking the picture. Try doing this with subjects at varying distances. Lastly, change your focus mode from autofocus to manual focus and practice a little manual-focus photography. Get familiar with where the focus ring is and how to use it to achieve sharp images. Write down what you learned from the different focus modes.
Part2
Practical assignment (1-5 days)
Take five pictures every day for the next five days. The subjects of your photographs can include a series of different objects, people and landscapes. The focus of this activity is to put into practice what you have learned so far about exposure and composition: Depth of Field, Motion Blur, High Key, Low Key, Pattern, Symmetry, Texture, Lines, Framing, Perspective, Space, Balance and Colour. Apply the manual settings as explained. Submit your six best pictures at the end of the week, listing the following with each image:
- ISO
- Aperture
- Shutter speed
Part 1. White balance
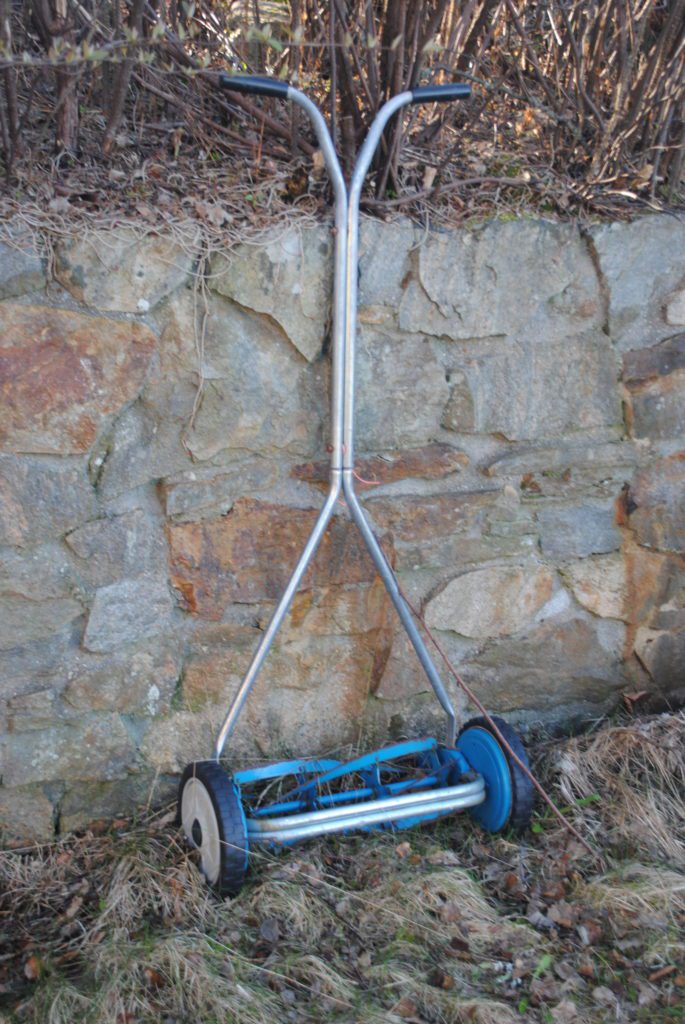
After going through all the provided material, and some study of the manual of my Nikon D300, I felt I had somewhat an idea of how to set up the white balance on my camera, so it was time to go outdoors and find a subject. This old lawnmover sitting there caught my eye, and I wanted to test how the effects would affect it.
Auto – F5 – 1/40 – 150

Incandescent – F5 – 1/40 – 160

Direct sunlight – F5 – 1/40 – 140

Shade – F5 – 1/60 – 100

Cloudy – F5 – 1/40 – 160
Tungsten Lighting.

shade – F5 – 1/40 – 160

Incandescent – F4.5- 1/2 – 450

Fluorescent – F4.5- 1/2.5 – 450

direct sunlight – F4- 1/4 – 600

Cloudy – F4.5 – 1/4 – 400
Fluorescent Lighting

Incandescent – iso 100 – F4.5 – 1/4.
This was a very surprising effect which I am not quite sure how happened

Flashy – 1/2 – F 4.5 – iso 1000

Fluorescent – 1/2 – F 4.5 – iso 1600
Experimenting with Focus Modes:
I started out with single-point-focus and discovered I quite enjoy this mode. It lets me pinpoint exactly what I want the viewer to discover in the frame. For AF-C I didn’t really notice a big difference, but I see how it will be useful if you need to place a person, still in focus, on the side of a picture for example. Going into manual focus, I felt I had complete control of how much and where my focus was, and I could get some really nice effects from that. But I still think the camera’s auto settings are better for people like me who are novices when it comes to the camera. I enjoyed playing with focus, and depth in the picture, shifting, and experimenting, as seen in the pictures below.


Part 2 Practical assignment
These are the images where I felt I used some of the techniques we have learned, the best


This, and last week has been extremely challenging for me, and even though I have done all the assignments and studied all the material, I still struggle to get a handle on my camera. I have however improved, something I can see from the starting photographs to the latest, which is nice to see. I will have to keep experimenting, trying (and failing :D), and play with it.
I had plans to do some low and high keys photos, but I struggled to get these right. That is something I will definitely keep working on.